Just Signed Up? Get Started in 3 Simple Steps
Just downloaded YYNote and opened it for the first time? Not knowing where to start is completely normal.
Getting started is simple — just 3 steps.
Step 1: Create Your Account
Section titled “Step 1: Create Your Account”YYNote requires a free registration to use. Your data syncs to the cloud, so switching devices won’t lose anything.
Registration methods:
- Phone number
Upon registration, you get an instant 7-day free trial to experience all premium features. No credit card required — try everything, and subscribe only if it works for you.
Step 2: Add the Desktop Widget
Section titled “Step 2: Add the Desktop Widget”After installation, the todo widget should appear on your desktop by default. If not, follow these steps:
- Right-click the YYNote tray icon in the system notification area → Settings
- Go to “App Settings”
- Find “Desktop Todo List” and set the count (we recommend starting with 1)
- The desktop widget will appear automatically
Note: The desktop widget is available on Windows. On mobile platforms (Android/iOS/HarmonyOS), use the YYNote app to manage your tasks.
Step 3: Create Your First Todo
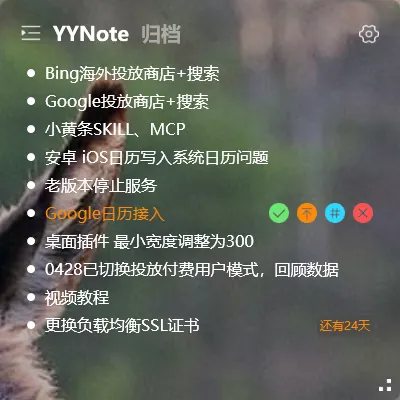
Section titled “Step 3: Create Your First Todo”Click directly on a blank area of the desktop widget, type your todo content, and press Enter to save.
For example, type: “Explore YYNote today”
No complex setup needed — creating is as simple as it gets.
If you need to set a reminder, click on the todo to enter editing mode and add a reminder time.
What to Try Next
Section titled “What to Try Next”- Add a sticky notes widget for jotting down ideas
- Add a calendar widget to plan your schedule
- Set up tags to organize tasks by category
- Enjoy your 7-day free trial with full access to all features
Final Thoughts
Section titled “Final Thoughts”No flashy new features, just continuous refinement. YYNote is designed to be usable from the moment you install it — no complex configuration required.